# Model Library
The Models page is your central hub for managing 3D models in Glossi. Every project starts with a model — it's the digital representation of your product that captures its shape, materials, and details.
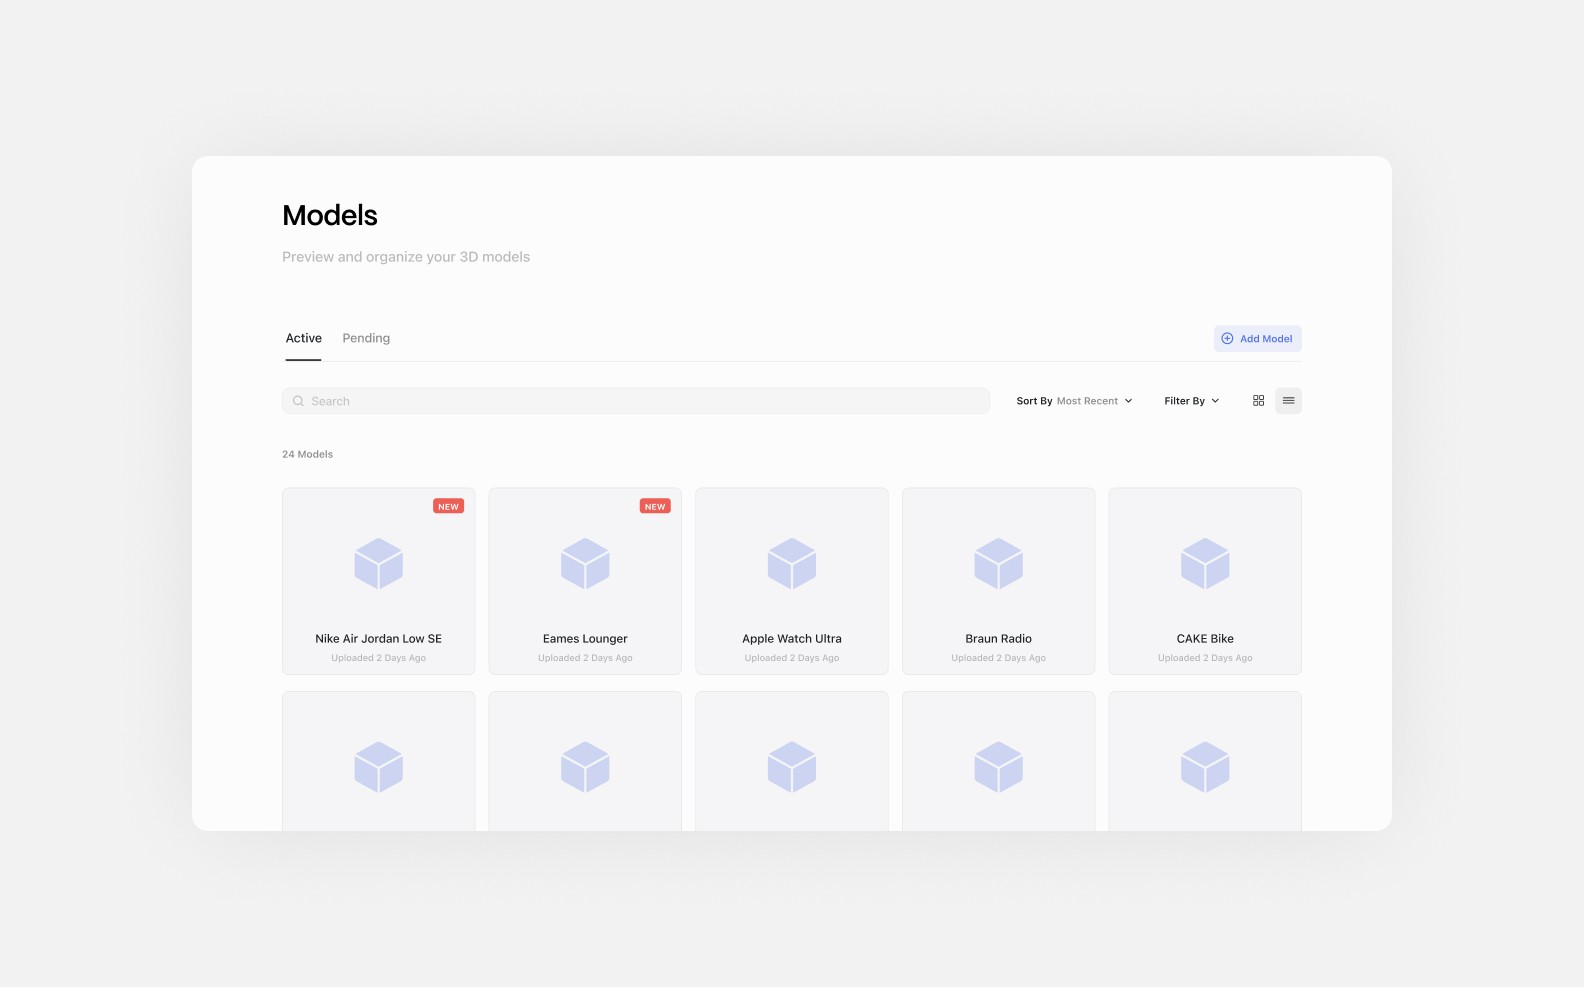
Access the Model Library from the **Models** tab in the workspace navigation. From here you can browse, search, and manage all models in your workspace.
### Uploading a Model
Click the **"Add Model"** button in the top right of the Models page, or use the upload button within the model list.
Glossi accepts most 3D formats (up to 100MB standard, 1GB for larger files), with **USDZ**, **glTF/GLB**, and **FBX** providing the best results since they preserve materials and textures during upload. Other formats (STL, OBJ, STEP, etc.) are supported but may require material reassignment in the studio.
For format details, see Supported File Types.
### What Happens After Upload
When you upload a model, Glossi checks three key elements:
* **Materials** — If your model includes material assignments, they transfer directly into Glossi. Missing materials will appear as gray surfaces that you can update using the Material Library in the studio.
* **Textures** — Embedded textures carry over with full detail. Without textures, surfaces will appear smooth until you apply them in the studio.
* **Colors** — Basic color properties assigned in CAD tools are preserved. Where colors are missing, surfaces appear in a neutral gray.
After the check, your model is optimized for real-time rendering. The geometry stays exactly as you designed it — Glossi converts it into a format that works with the streaming engine. Processing typically takes under a couple of minutes, though larger files may take up to 10 minutes.
### Best Practices
The quality of your renders scales with the quality of your model. Before uploading:
* Verify all materials are properly assigned and named.
* Check model scale and position.
* Clean up any geometry issues.
* Optimize mesh and texture density.
For detailed guidance, see Preparing Your 3D Assets.
### Getting Help
For support with model optimization, material workflows, format conversion, or technical issues, contact ****.
---
# Agent Instructions: Querying This Documentation
If you need additional information that is not directly available in this page, you can query the documentation dynamically by asking a question.
Perform an HTTP GET request on the current page URL with the `ask` query parameter:
```
GET https://docs.glossi.io/workspace/model-library.md?ask=
```
The question should be specific, self-contained, and written in natural language.
The response will contain a direct answer to the question and relevant excerpts and sources from the documentation.
Use this mechanism when the answer is not explicitly present in the current page, you need clarification or additional context, or you want to retrieve related documentation sections.