# Projects
## What are Projects?
A project in Glossi is a combination of a **model** and a **template**. It's where you set up your scene, position your model, adjust lighting, and capture photos and videos. Each project preserves your full studio setup — camera positions, lighting, backdrops, and all other settings — so you can return and pick up where you left off.
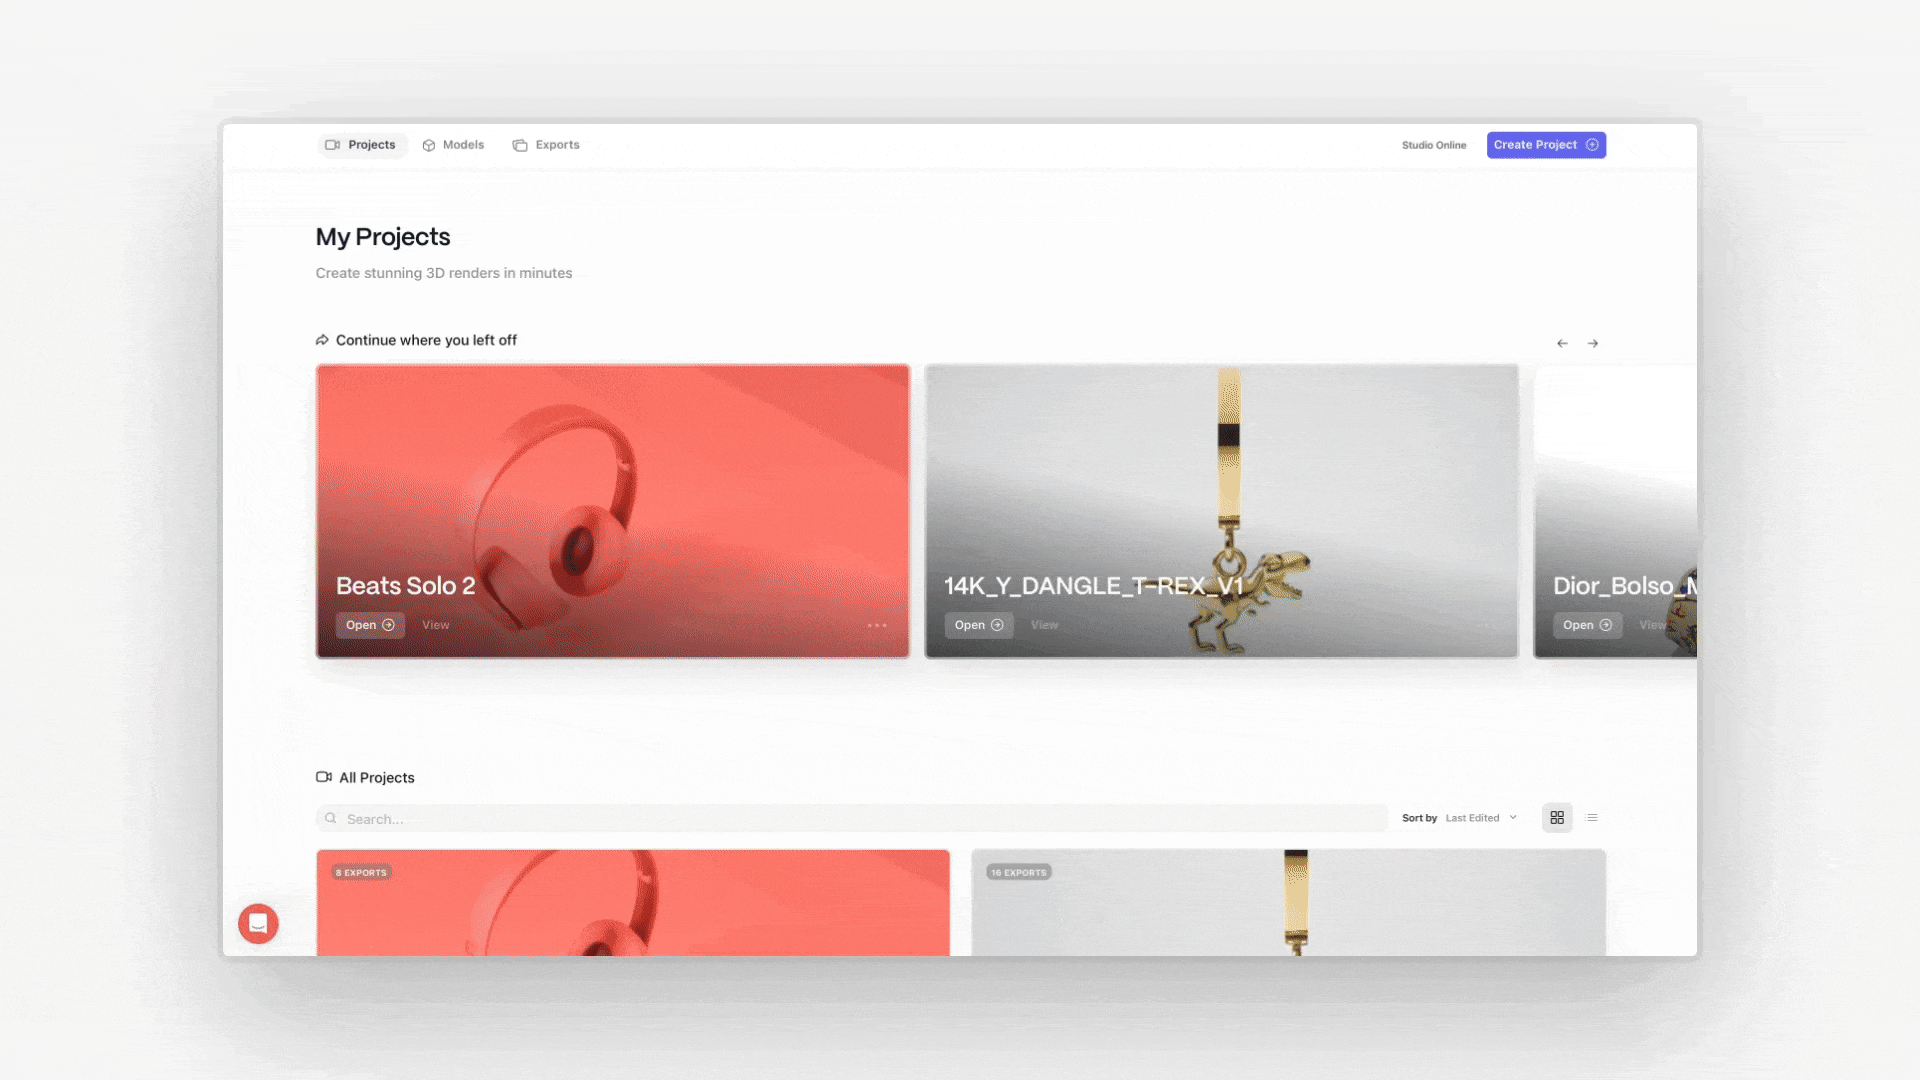
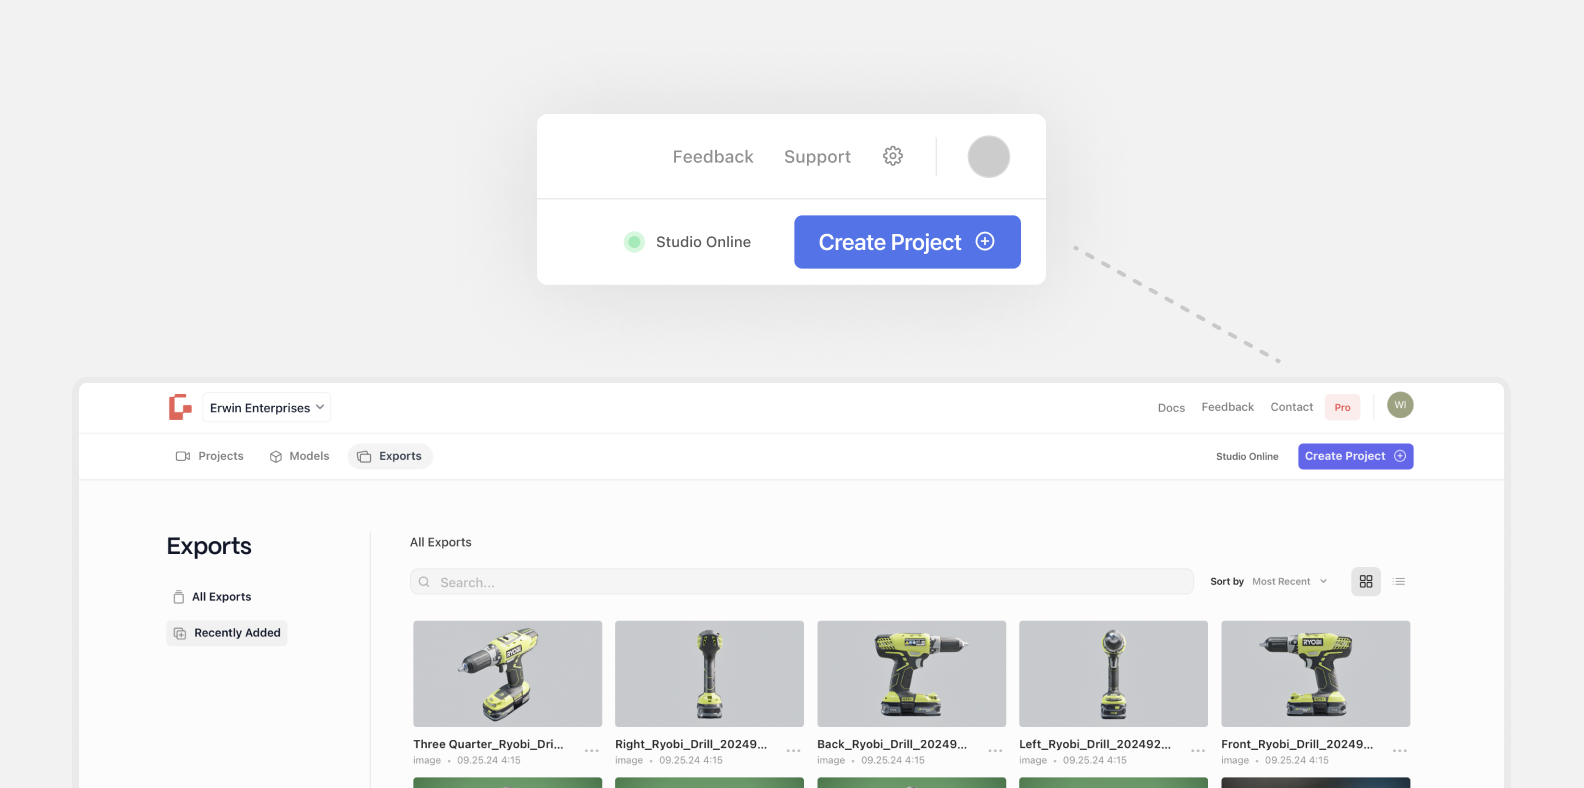
## Your Projects Page
The **Projects** page is your central hub for managing all of your projects. From here you can create new projects, search and filter existing ones, and open any project in Glossi Studio.
Projects are displayed in a grid layout and grouped by time — **This Week**, **This Month**, and **Earlier** — so your most recent work is always easy to find. You can also search by name, filter by content type, template, or model, and sort by newest, oldest, or name.
#### Batch Projects
In addition to individual projects, Glossi supports **batch projects** — a way to create multiple projects at once. Select several models, choose a shared template, and Glossi generates a separate project for each model. This is useful when you need consistent imagery across a product line.
### Creating a New Project
To create a project, click the **"Create Project"** button on the Projects page. You'll be prompted to:
1. **Name your project** — Give it a descriptive name. By default, the name auto-fills based on the model you select.
2. **Select a model** — Choose a model from your library. Only models that have finished processing are available for selection.
3. **Select a template** — Templates are pre-built studio setups that include lighting, backdrops, camera bookmarks, and video clips. A template is automatically selected for you, but you can browse and choose a different one.
Once created, Glossi begins connecting you to a studio instance. This process typically takes a few minutes as the platform prepares your workspace on dedicated rendering hardware.
> **Note:** You need at least one uploaded and processed model to create a project. If your library is empty, you'll be prompted to upload a model first.
### Managing Existing Projects
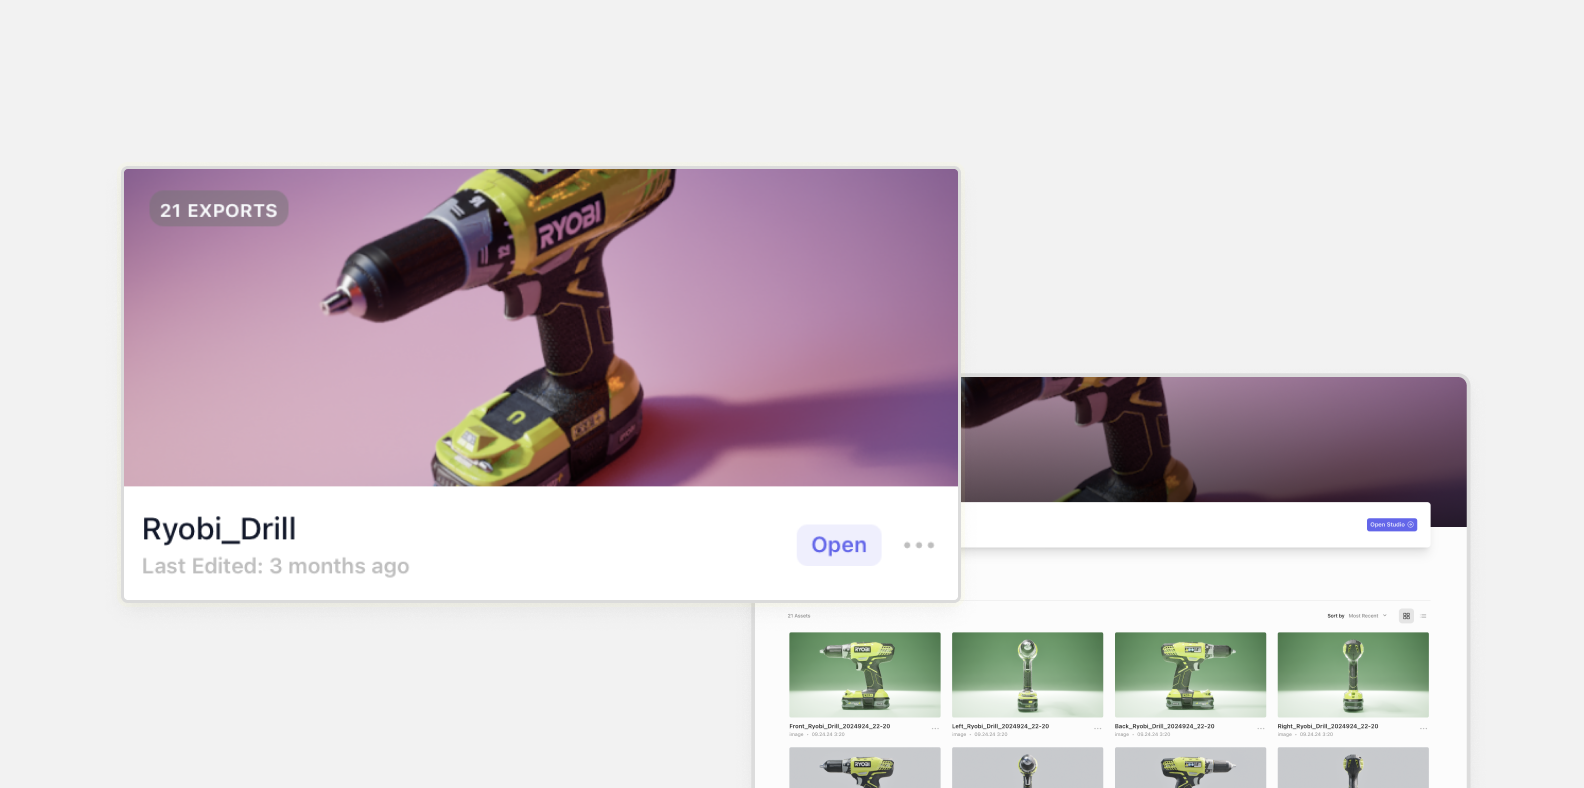
Each project card on the Projects page shows a thumbnail preview that cycles through your captured renders on hover. From here you can:
* **Open in Studio** — Click a project card to launch Glossi Studio and continue working on your scene.
* **View Details** — Open the project details panel to see metadata, associated models, and the template used.
* **Delete Projects** — Select one or more projects and delete them from the selection bar.
### Connecting to Studio
When you open a project, Glossi connects you to a dedicated studio instance. The connection process has three stages:
1. **Instance Requested** — Your studio session is being provisioned.
2. **Studio Paired** — The platform is pairing your project with the studio hardware.
3. **Studio Online** — Your workspace is ready and the studio loads automatically.
This process typically takes a few minutes. Once connected, you'll enter Glossi Studio where you can adjust your scene and start capturing content.
***
---
# Agent Instructions: Querying This Documentation
If you need additional information that is not directly available in this page, you can query the documentation dynamically by asking a question.
Perform an HTTP GET request on the current page URL with the `ask` query parameter:
```
GET https://docs.glossi.io/workspace/projects.md?ask=
```
The question should be specific, self-contained, and written in natural language.
The response will contain a direct answer to the question and relevant excerpts and sources from the documentation.
Use this mechanism when the answer is not explicitly present in the current page, you need clarification or additional context, or you want to retrieve related documentation sections.