Upload a model
Add a product model to your library from a 3D file, photos or drawings, or the sample catalog, and check it before production.
Every project starts with a model in Library > Models. Upload a 3D file when you have one; it gives you the most control over geometry, parts and materials. Glossi converts it into a model the Studio can load.
Upload a 3D file
- Open Library > Models.
- Select Add model, or open its menu and choose Upload a 3D file.
- Drop one or more files on the dialog, or browse to them.
- Keep the page open until each upload is accepted. You can close the dialog after that; the model card shows its progress.
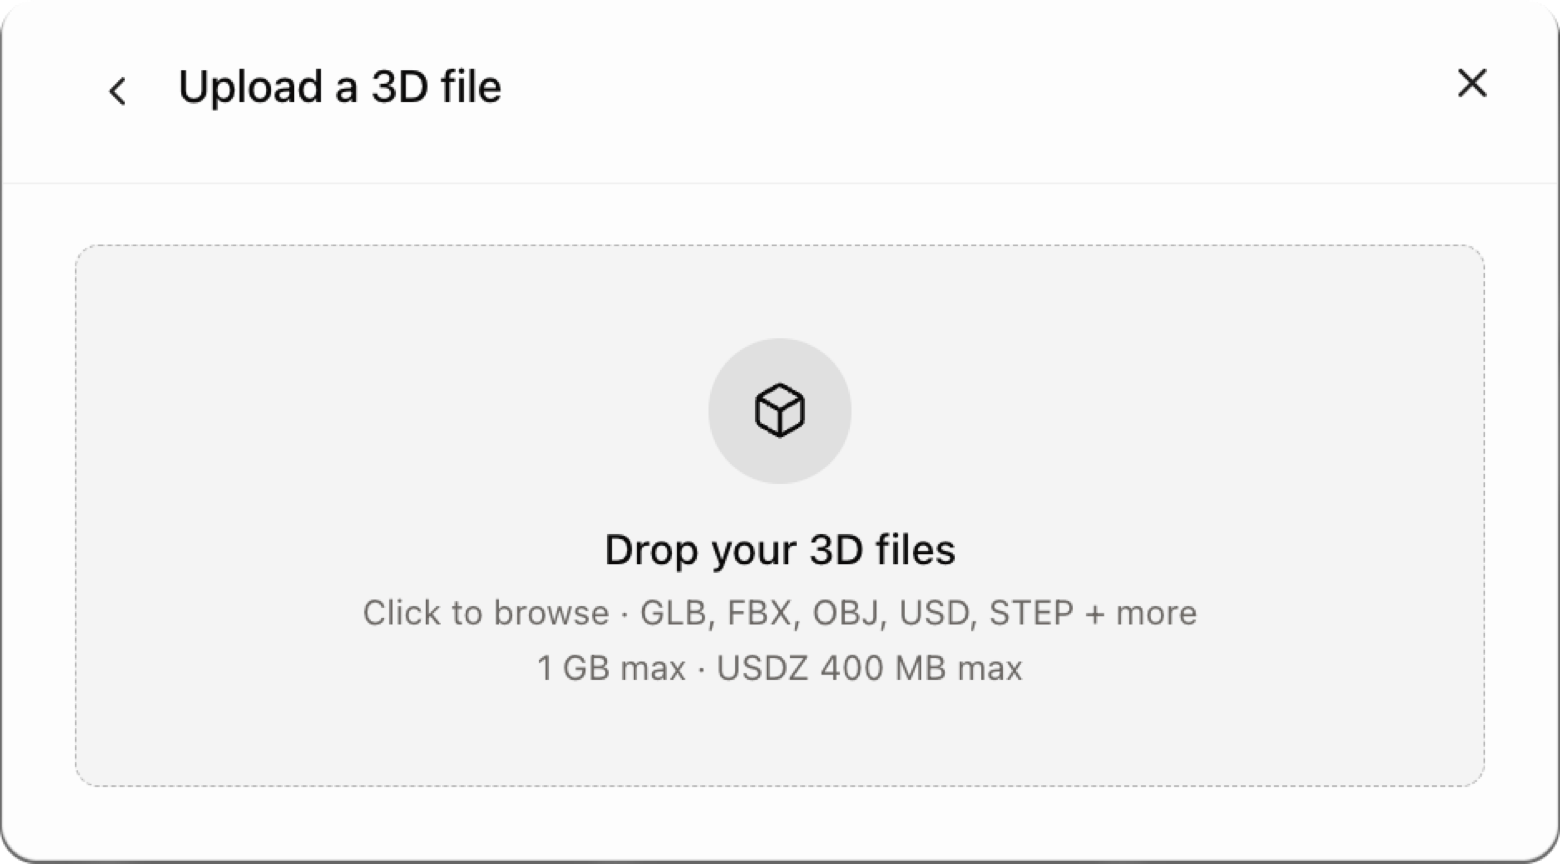
Each file can be up to 3 GB. A format that keeps its textures in separate files, such as OBJ or glTF, uploads as a .zip. Supported file types covers every format and what it carries.
Glossi gives the model texture coordinates where it needs them, following your workspace's unwrap setting. There's no unwrap choice in the upload dialog.
Generate from photos
When there's no 3D file, Glossi can build a starting model from images of one product.
- Choose Add model > Generate from photos or technical drawings.
- Add images of the product from several angles, or its technical drawings.
- Optionally add a name, the units and notes on anything the images don't show, such as overall size or what it's made of.
- Start the generation.
Depending on how your workspace is set up, the model goes straight into your library or waits for you to review and approve it. If generation is off for your workspace, the dialog says so.
A generated model is a starting point. It doesn't guarantee exact dimensions, separate parts or faithful materials. Check the shape, proportions and product-critical details before building final work on it. When detail must be exact, request a hand-built model instead.
Request a hand-built model
Choose Add model > Request a hand-built model. Include the product, dimensions, materials, your deadline and reference photos that show what must match. Glossi's partner 3D studios build the model and deliver it to your library. See Get a 3D model for when this is the right path.
Browse sample models
Choose Add model > Browse sample models to add a ready product from the sample catalog. Samples skip conversion and work like any other model, so they're a quick way to learn the Studio.
Model status
The model card shows where the model is. Filter by status in the library to find models that need attention.
| Status | Meaning | What to do |
|---|---|---|
| Uploading | The file is moving into Glossi | Keep the page open until the upload is accepted |
| Processing | Glossi is converting the file | You can leave and come back |
| Analyzing | Glossi is finishing the conversion and building previews | Wait; it moves to Ready on its own |
| Ready | The model can go into a project | Open it and check it (below) |
| Approved | Ready, and marked approved | Use it like a Ready model |
| Failed | The upload or conversion didn't complete | Open the model to see why, fix the source and upload again |
| Rejected | The model was rejected and can't be used | Upload a corrected file |
Check the model
A thumbnail isn't proof the model is ready for production. Open it and check:
- The silhouette and proportions match the product.
- Scale and orientation are right, and the product sits on the floor in a scene.
- The parts you need are present and selectable.
- Materials sit on the right regions, and textures are placed at a sensible size.
- Glass and transparent parts look right.
If parts are fused or materials aren't grouped the way you need, Prepare a model can split it into parts, group parts by finish and assign materials. To replace the file later without breaking projects, upload a new version.
Related
Get a 3D model of your product
Find the right way to get your product into Glossi: a file you already have, an export from your 3D tool, a model generated from photos, a hand-built model, or a scan.
Supported file types
The 3D formats Glossi accepts, how much of your materials each one carries, and the upload size limits.