Create and use AI styles
Save a set of reference images as a style, test it on a render, and apply the same look to AI edits and automations.
An AI style is a saved set of reference images, plus optional written direction, that AI edits can follow. Use one when several renders should share a look, such as a campaign setting or a seasonal treatment. A style guides the edit; it does not guarantee identical results, so review each one against its source render.
For the library screen where styles are listed, see AI Styles.
Create a style
- Open Library, then AI Styles.
- Choose New style.
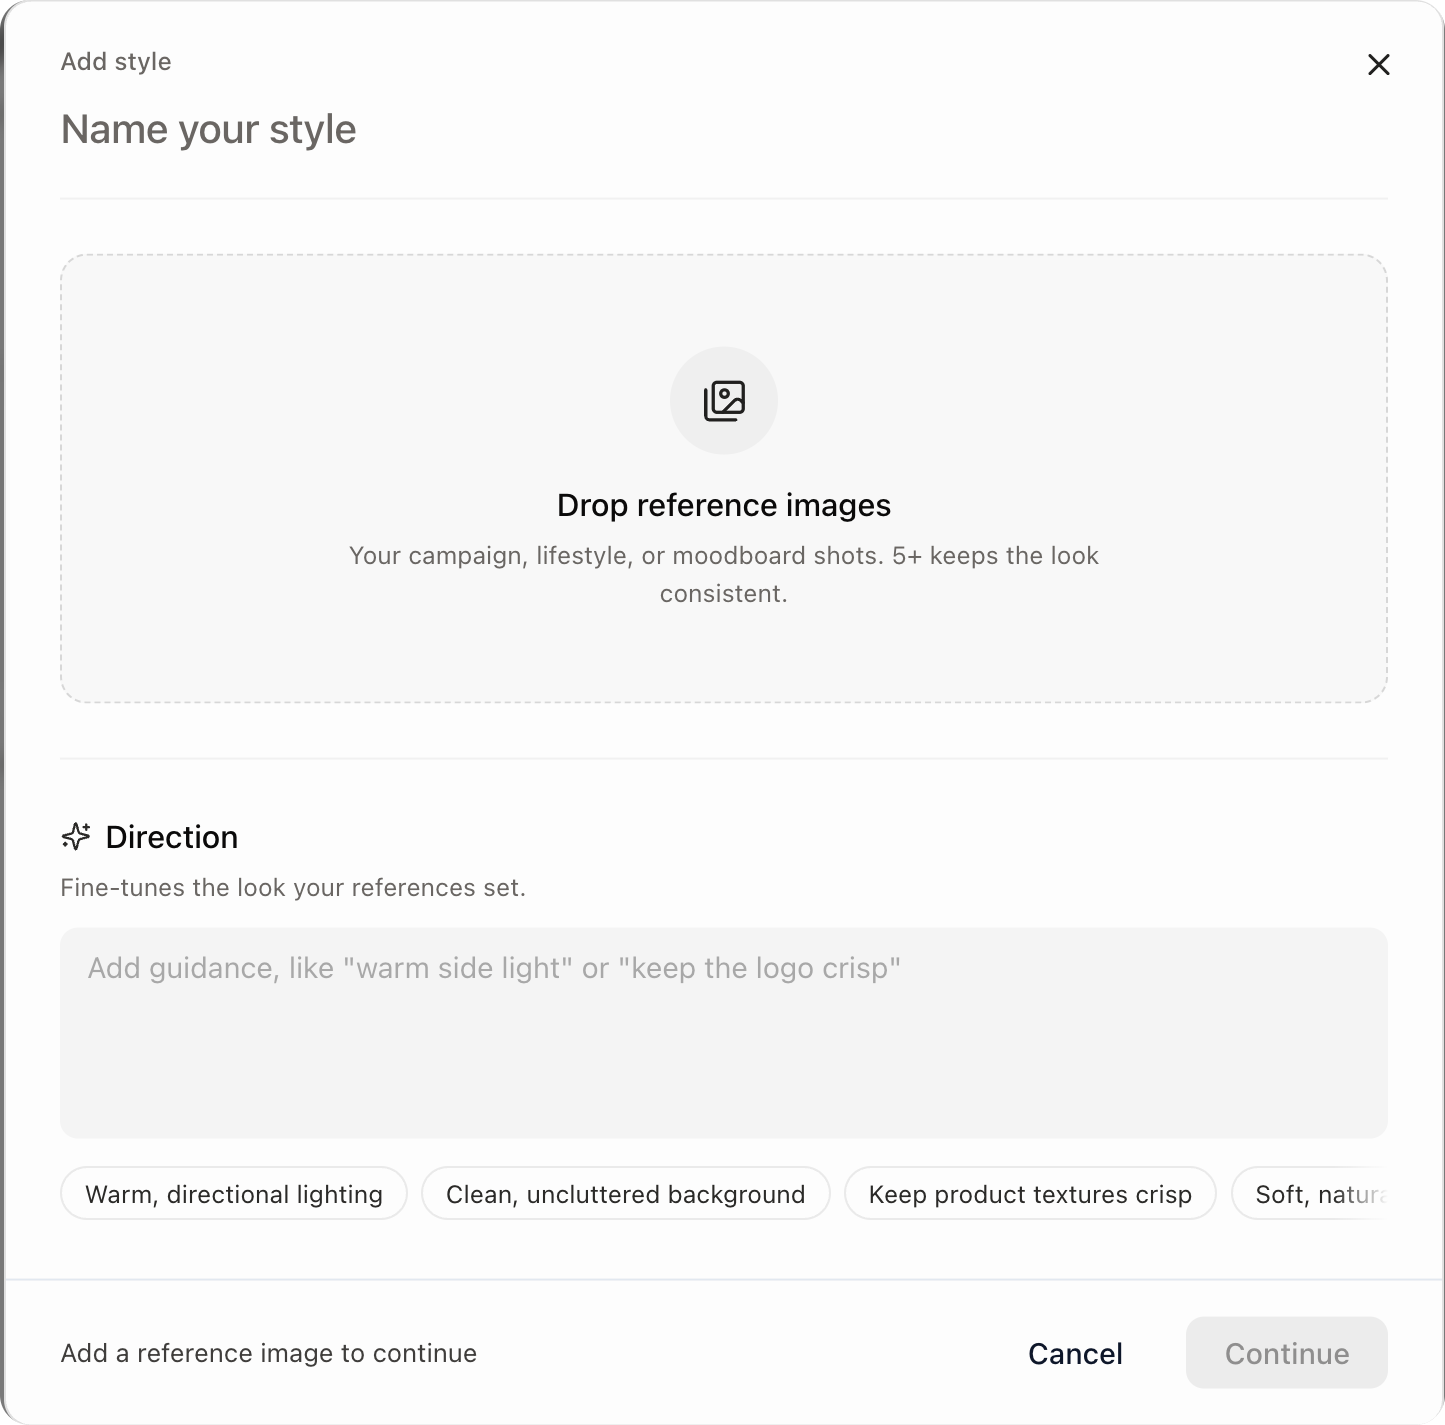
- Name the style after what it looks like, such as
Warm gallery, low contrastorSoft daylight, pale concrete. Names such asPremiumtell the next person nothing. - Choose Add references and add campaign, lifestyle, or mood images. Each image must be under 12 MB.
- Select up to 10 images for the style to use. Images you leave unselected stay in the style's library for later.
- Optionally, write Direction for what the images cannot show, such as "warm side light" or "keep the logo crisp". Refer to a selected image by its number, for example
@1. - Choose Save changes. The style takes a moment to prepare before you can use it.
Pick references that agree on light, palette, and mood. A small consistent set works better than a large mood board with several looks in it.
Test a style
The style page shows the style on one of your renders before you use it for real.
- Choose Select render, or Browse all renders, and pick an image render of your product.
- Choose Generate preview. Compare Original and Preview.
- Change the direction or references and preview again until the look is right. Choose Save changes to keep the changes for everyone.
- To keep a preview, choose Save preview to render. Unsaved previews are discarded when you leave.
Test each new style on a product from every category you plan to use it with.
Apply a style to a render
- On the style page, choose Use style.
- Search for and select an image render.
- The render opens with the style selected in the edit panel. Add a short instruction if the edit needs one.
- Choose Generate edit.
You can also pick a style from Style in any render's edit panel. See Edit a render with AI.
Check product shape, labels, material boundaries, and small hardware in every result. When those must be exact, make the change in the Studio instead.
The Results section on the style page shows the latest saved result from each render that used the style. Results keep their look when you change the style later.
Use a style in an automation
Enterprise. Automations are available on Enterprise.
Add an AI Edit step to an automation and choose the style. Every render the automation produces gets an edited version in that style. Test the style on representative products first, and review the automation's output regularly. See Automation steps.
If you delete a style that an automation uses, existing renders and edits are kept, and future runs skip the style.