Materials
Your workspace's reusable surface finishes: add, find, organize, open, and delete materials.
The Materials page holds every finish your workspace can apply to a product: its base color, roughness, metalness, normal, and other texture maps, kept separate from any one model. Open Library → Materials, or go to /library/materials.
Add a material
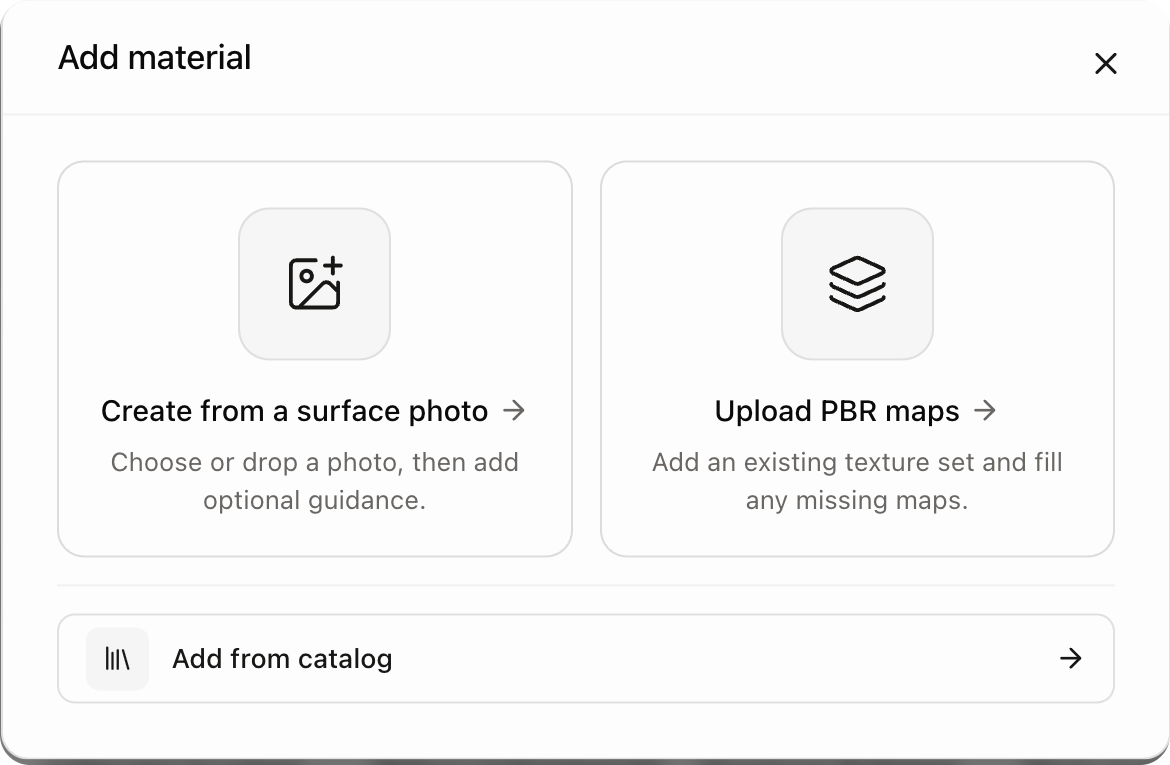
Select Add material and choose a starting point:
| Option | Use it when |
|---|---|
| Upload texture maps | You have a texture set. Drop files, a folder, or a ZIP, or choose Import texture folder. |
| Generate from surface photo | You have a photo of the finish. Add optional guidance, review the preview, then save. |
| Pantone color | The finish is a flat color given by a Pantone code. |
| Design from SVG | The finish is a printed design whose colors you want to change per variant. |
To add a ready-made material instead, select Browse catalog in the toolbar.
Upload texture maps
Glossi matches common filenames to their map types. Check the assignments before you select Add material. If a folder holds several material sets, pick the one to import. Files that need a decision stay available to assign or skip. Base color is required. Fill missing maps is off by default; turn it on to have Glossi generate the maps you did not supply.
Pantone materials
Enter the Pantone code (such as 281 C, or 19-4052 TCX for textiles) and the Color, the sRGB hex Pantone publishes for that code, which sets how the material renders. The name defaults to the code.
Any material can also record a Pantone without changing how it looks: open it, choose Add Pantone in its Pantone section, enter the code and hex, and select Save Pantone.
Find materials
| Control | What it does |
|---|---|
| Search | Matches names and a description Glossi writes for each material, so "brown leather" finds a material called "Saddle Tan". |
| All / Yours / From catalog | Shows every material, the ones your workspace made, or the ones added from the catalog. |
| Filter | Type (leather, fabric, wood, metal, and more, set automatically unless you chose one when creating the material), Finish (matte, satin, glossy, or metallic, measured from the maps), Color (pick a swatch and how close a match must be), and Tags. |
| Sort | Newest, Oldest, or Color, which groups neutrals first and then runs around the color wheel. With a color filter on, sort switches to Closest color. |
Organize materials
Materials use folders, like models and decals. See Find and organize. Right-click a card for Open, Move to…, and Delete.... Select several to move or delete them together.
Open a material
Selecting a card opens the material's page at /library/materials/<id>:
- A preview you can view as Sphere, Cube, or 3×3 repeat.
- Texture maps: hover a map and select Replace to upload a new one, or Add for a missing map. Each change saves a new version.
- An edit box: describe a change to the finish, compare the preview, then save it as a new version or a new material. See Edit a material with AI.
- Pantone, Details, tags, and properties.
- Used on models: the models this material was applied to in Studio or through a material swap.
- Use on models: pick models and surfaces to apply it to. See Materials across models.
- The ··· menu: Rename material and Copy link.
To apply a material inside a scene, see Product and materials.
Delete a material
Delete from the card's right-click menu or the selection bar. Deleting is permanent and removes every version of the material. Material swaps and prop material overrides that used it are removed too.