How Glossi works
Understand the product model behind a Glossi workflow, from a prepared 3D model to a reusable template, tracked render, and delivered output.
Glossi keeps the product and the setup behind an image available for the next job. That is the core difference between producing another file and building a repeatable production workflow.
The product model
The interface uses familiar labels such as Models, Projects, Templates, and Renders. Each one owns a different part of the workflow.
| In Glossi | What it owns | Why it matters |
|---|---|---|
| Workspace | Members, assets, projects, usage, settings, and credentials | Keeps production inside one ownership and access boundary |
| Model | Prepared 3D geometry, product parts, materials, options, poses, and preview state | Carries reusable product state across projects |
| Project | The editable scene opened in Studio | Combines products, lights, backdrops, props, cameras, and motion |
| Angle or clip | One saved still frame or video instruction | Defines exactly what a render should produce |
| Template | A reusable, versioned project setup | Preserves approved creative direction for another product or run |
| Render job | The tracked work that produces selected outputs | Carries progress, retry, cancellation, and recovery state |
| Render | A finished image, video, or child version | Keeps the result available for review, adaptation, and delivery |
| Delivery | The destination for approved work | Includes downloads, connected folders, webhooks, and Showroom |
A complete workflow
1. Prepare the model
Upload a source file, generate a starting model from photos, or select a sample. Glossi converts the source, creates a preview, and records when the model is ready.
For repeatable work, confirm the product scale, orientation, parts, materials, and available options before building several projects from it.
2. Build the project in Studio
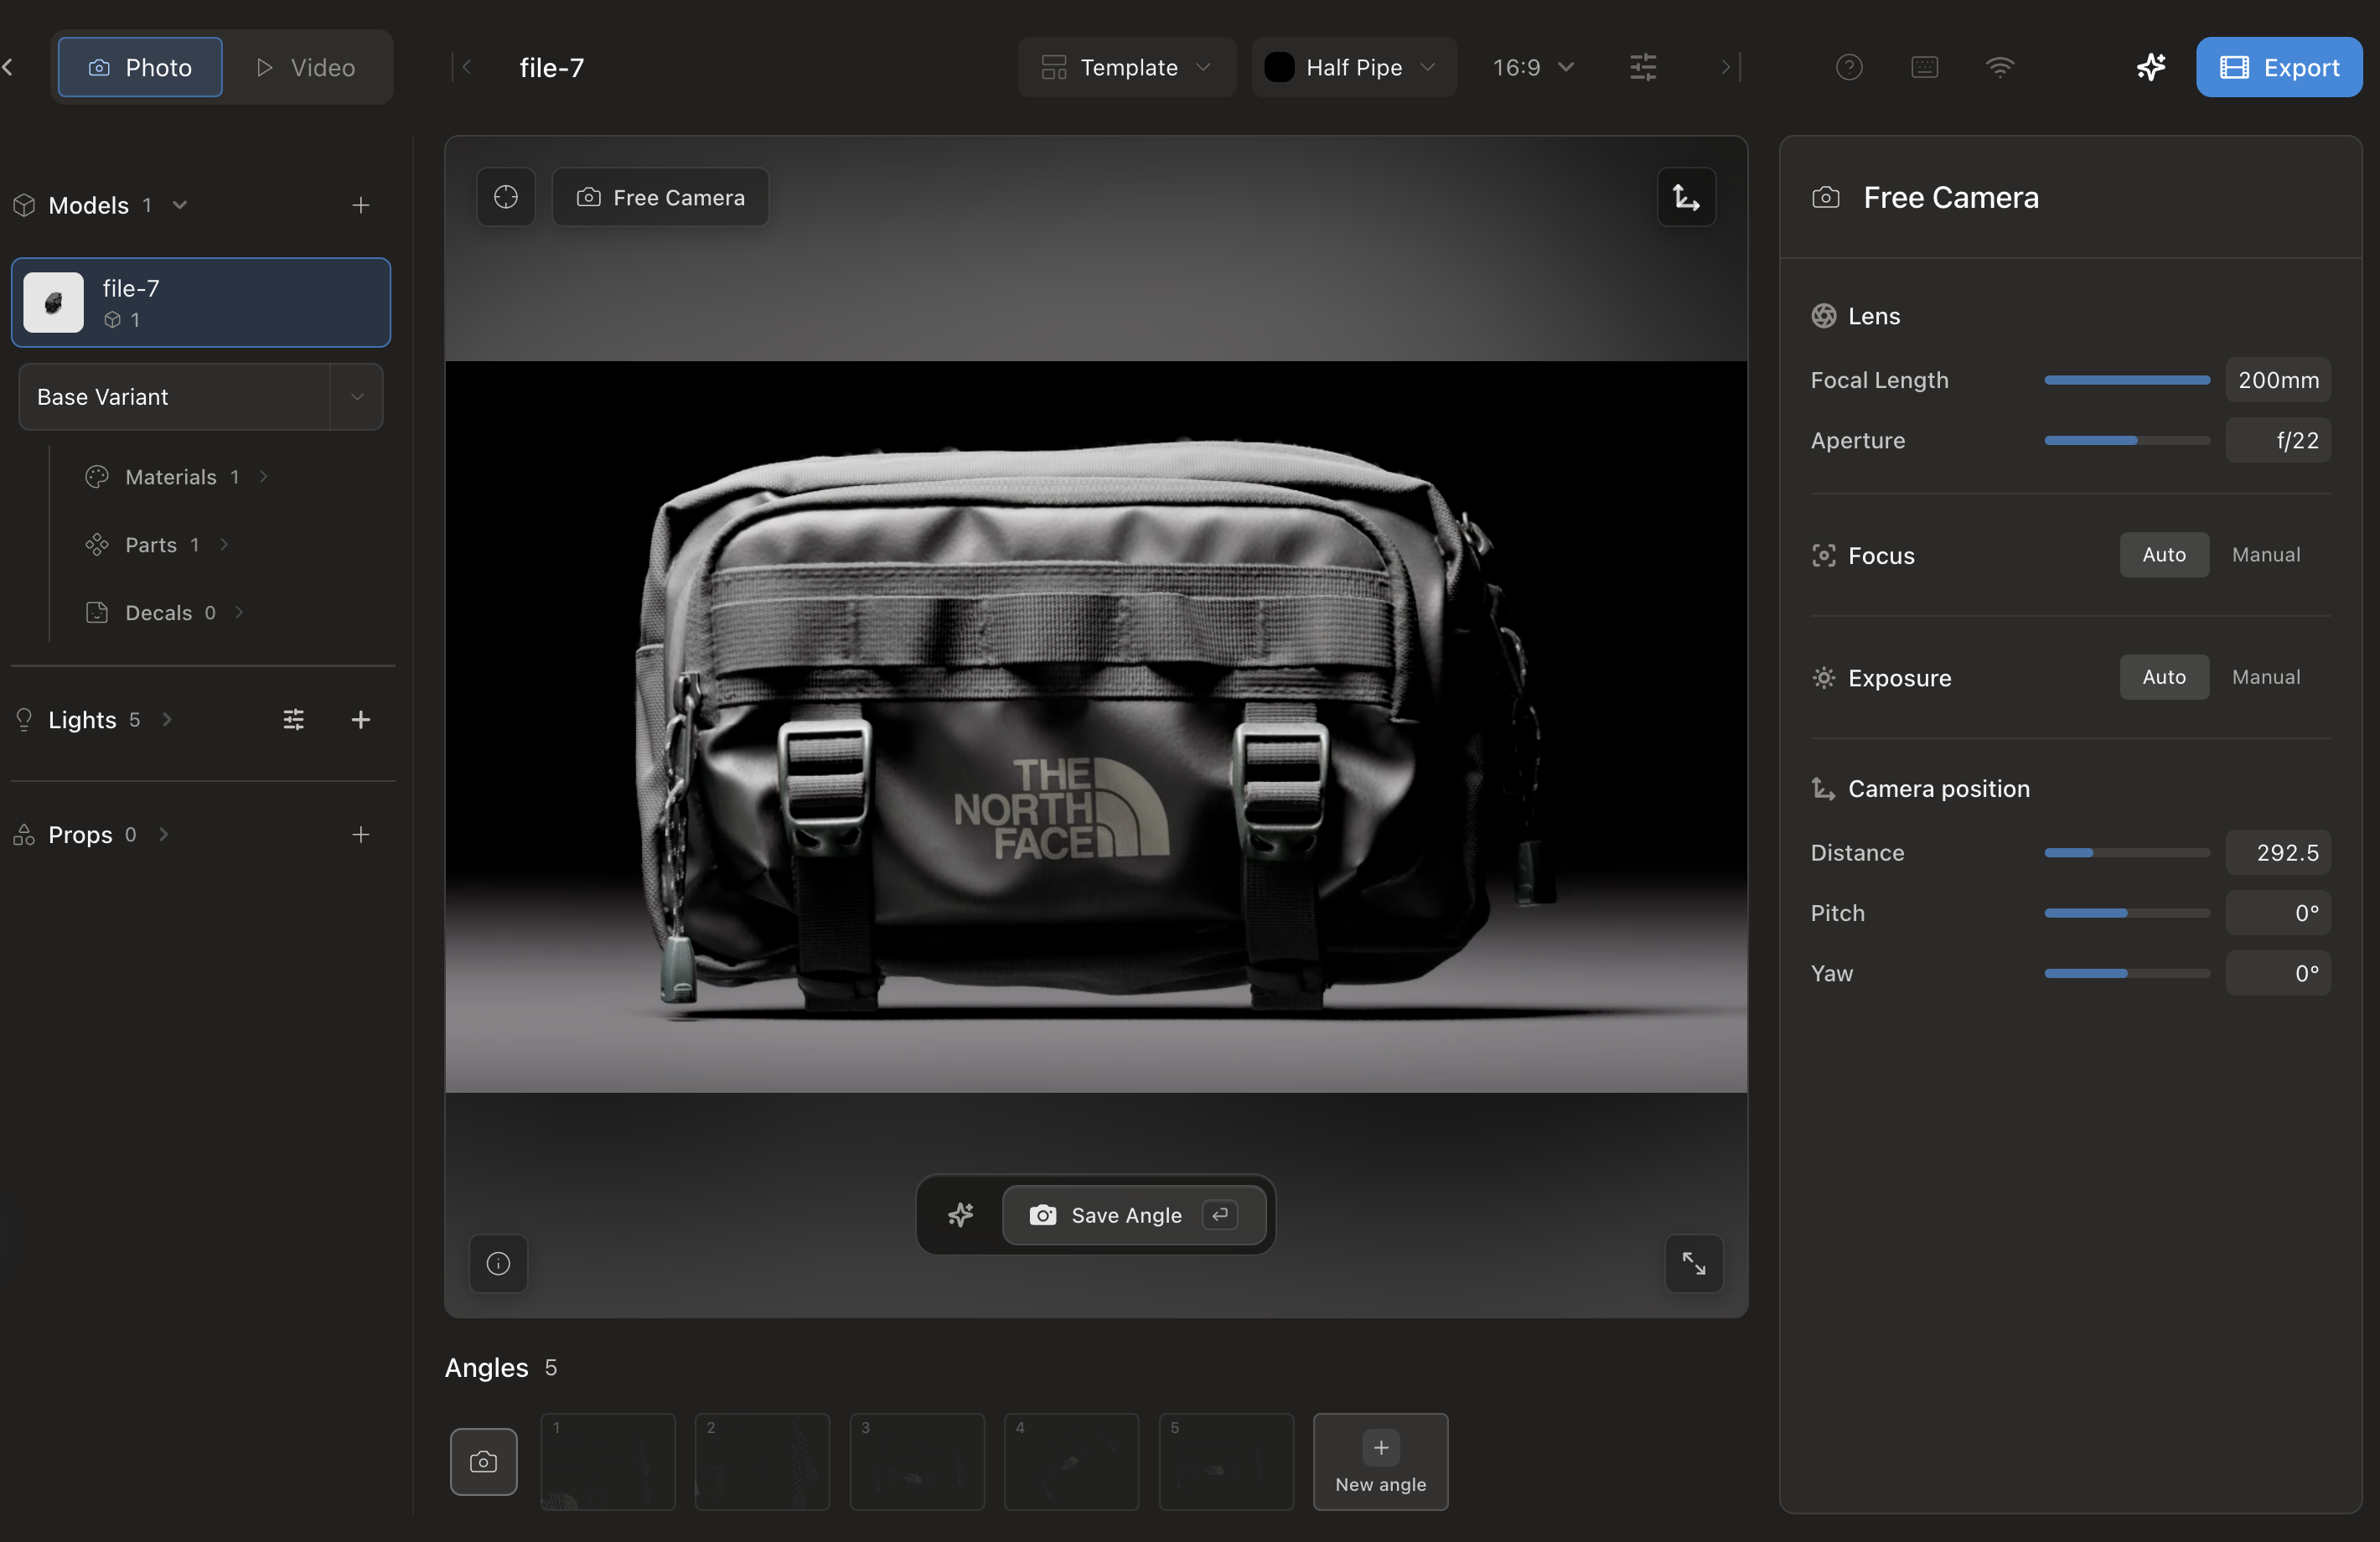
A project is the working scene. Opening it starts a managed Unreal Engine session and streams the live viewport to your browser.
Use Studio to place the product, choose materials, shape the lighting, select a backdrop, add props, frame image angles, and create video clips. Supported changes are saved to the project so you can return without reconstructing the scene.
3. Preserve the setup as a template
When a project produces approved work, save it as a template. The template carries the scene and saved views that make the result repeatable.
Versions keep later template changes from silently altering an earlier production setup. A project can remain pinned to a specific version when reproducibility matters.
4. Produce through the right lane
- Use Studio rendering when you are still directing the scene.
- Use Quick Render when a prepared model and template are ready to combine.
- Use Automations when a folder or event should start a known workflow.
- Use the API when your own system should control intake, execution, and retrieval.
Each production request creates tracked work. Failed work can be retried, active work can be canceled in supported flows, and finished captures remain attached to their source project and views.
5. Review, adapt, and deliver
Finished renders land in the render library. You can inspect exact versions, add authenticated comments, create bounded image or video derivatives, and return to the original at any time.
Approved work can be downloaded, exported through a supported connector, returned through a webhook, or reused in a branded Showroom.
Where AI fits
AI is one method inside the workflow, not the source of product truth.
- Image-to-3D can create a starting model when no source geometry exists.
- Material generation can create reusable finish assets.
- Render editing can combine a prompt, saved style, reference image, annotation, layout guide, or lighting direction.
- Supported image and video tools can create child versions while preserving the source.
Generated output can change product details. Review every derivative against the original before delivery.
What you need
- A current desktop browser with a stable internet connection.
- A product model or a set of clear product photos.
- A workspace role that can create the required model, project, render, or integration.
- Enough plan access and usage balance for the selected production method.
Deep geometry editing, simulation, custom shaders, and specialist plugin work should remain in the upstream 3D tool. Glossi begins where a product is ready to become visual content.
Next step
Make your first product image, or use the complete product guide to choose a deeper workflow.