Photo Mode
Photo mode like a virtual photo studio where you adjust multiple cameras and capture product shots without needing physical equipment or technical photography skills.
In Photo Mode, you can view your 3D model from any angle and save these views as "bookmarks." Each bookmark stores your camera position plus all your settings for lighting, focus, materials, and environment.
When your images look right, Glossi generates high-resolution exports with a single click. You can export multiple views and product variants simultaneously, which significantly speeds up your product visualization workflow.
Photo Mode works best for:
E-commerce product catalog images
Marketing materials showing multiple angles
Product variations (colors, materials, configurations)
Detail shots highlighting specific features
Creating consistent imagery across product lines
Using Photo Mode
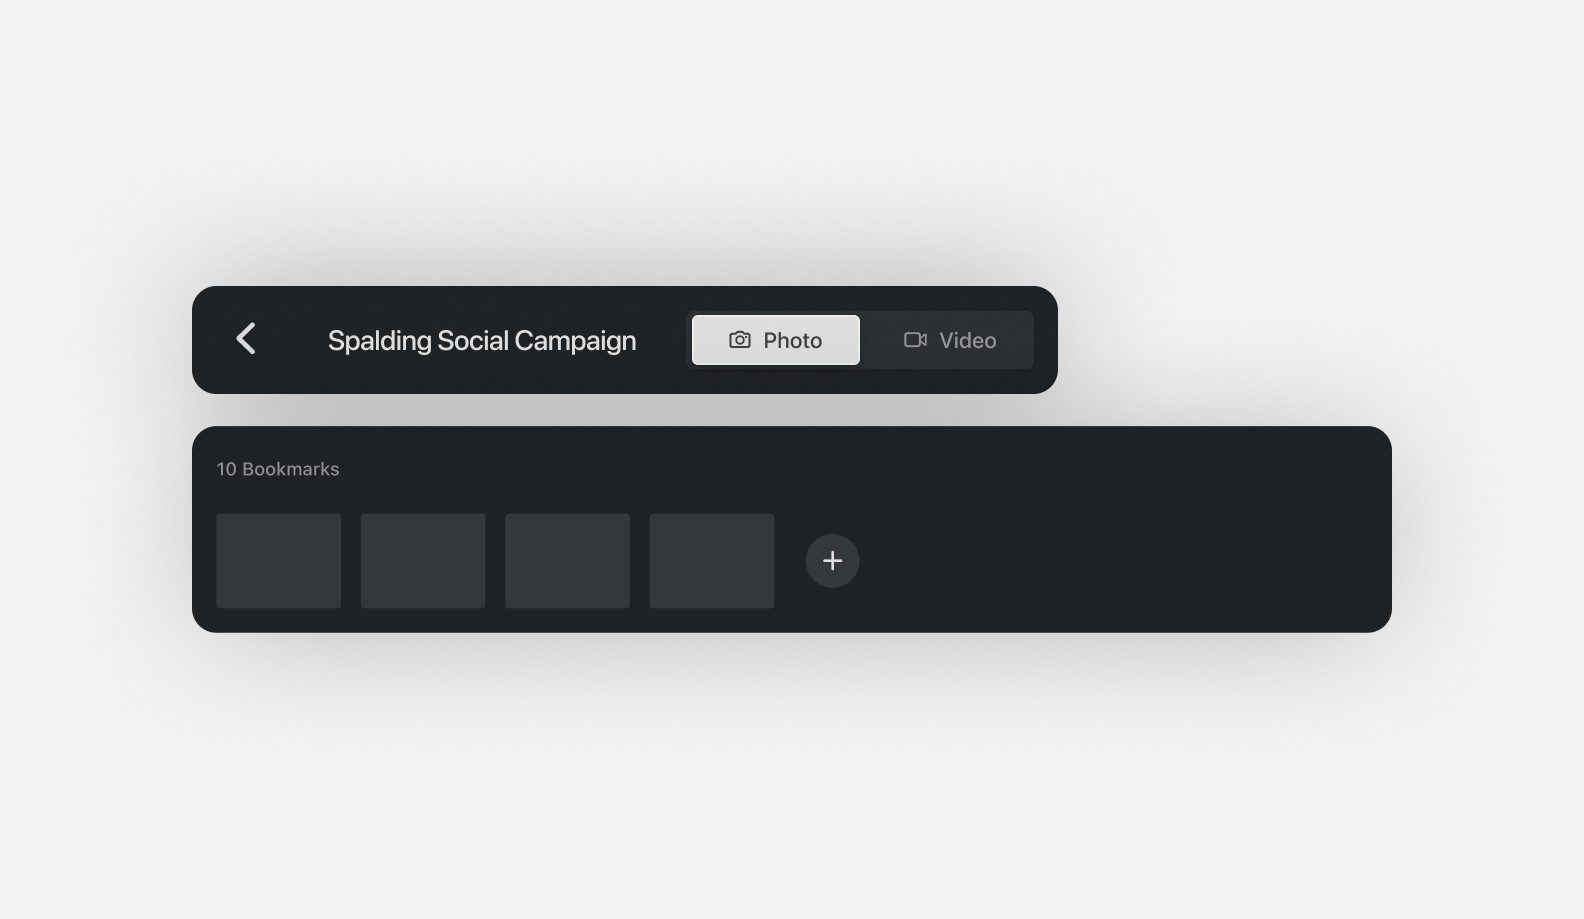
Photo mode should be selected by default, but if it's not , you can access it by clicking the "Photo" tab in the top toolbar. The interface will change, showing bookmarks instead of video shots at the bottom of the screen.
Accessing Photo Mode
Open a project in Glossi Studio
Select the "Photo" tab in the top toolbar
The interface will switch to Photo Mode, displaying the bookmark timeline at the bottom
These bookmarks are saved camera positions and settings. These bookmarks allow you to establish standard views, switch seamlessly between them, and export multiple perspectives in a single batch.
When you first enter Photo Mode Glossi automatically creates four standard bookmarks: Front view, Back view, Side view, Three-quarter view.
Additionally, any camera targets you create will generate their own bookmarks, focusing on specific product features.

The Photo Mode interface consists of four main sections:
Viewport: The central working area where your 3D model is displayed. This is where you'll see your product in real-time as you adjust settings.
Bookmark Timeline: The bottom panel showing all saved camera positions (bookmarks). Think of these as your collection of product angles that you can switch between with a single click. Read more about bookmarks here
Bookmark Edit Panel: The right sidebar showing properties and settings when you have a bookmark selected. Each bookmark saves core properties of your shot - Camera position and angle, Focal length and focus settings, Product position and rotation, Lighting setup, Exposure settings.
Last updated
Was this helpful?