Studio Tour
Glossi Studio is where the magic happens - it's your professional-grade virtual photography and video studio powered by Unreal Engine 5. Understanding how to navigate and use the studio effectively will help you create stunning visualizations of your 3D models.
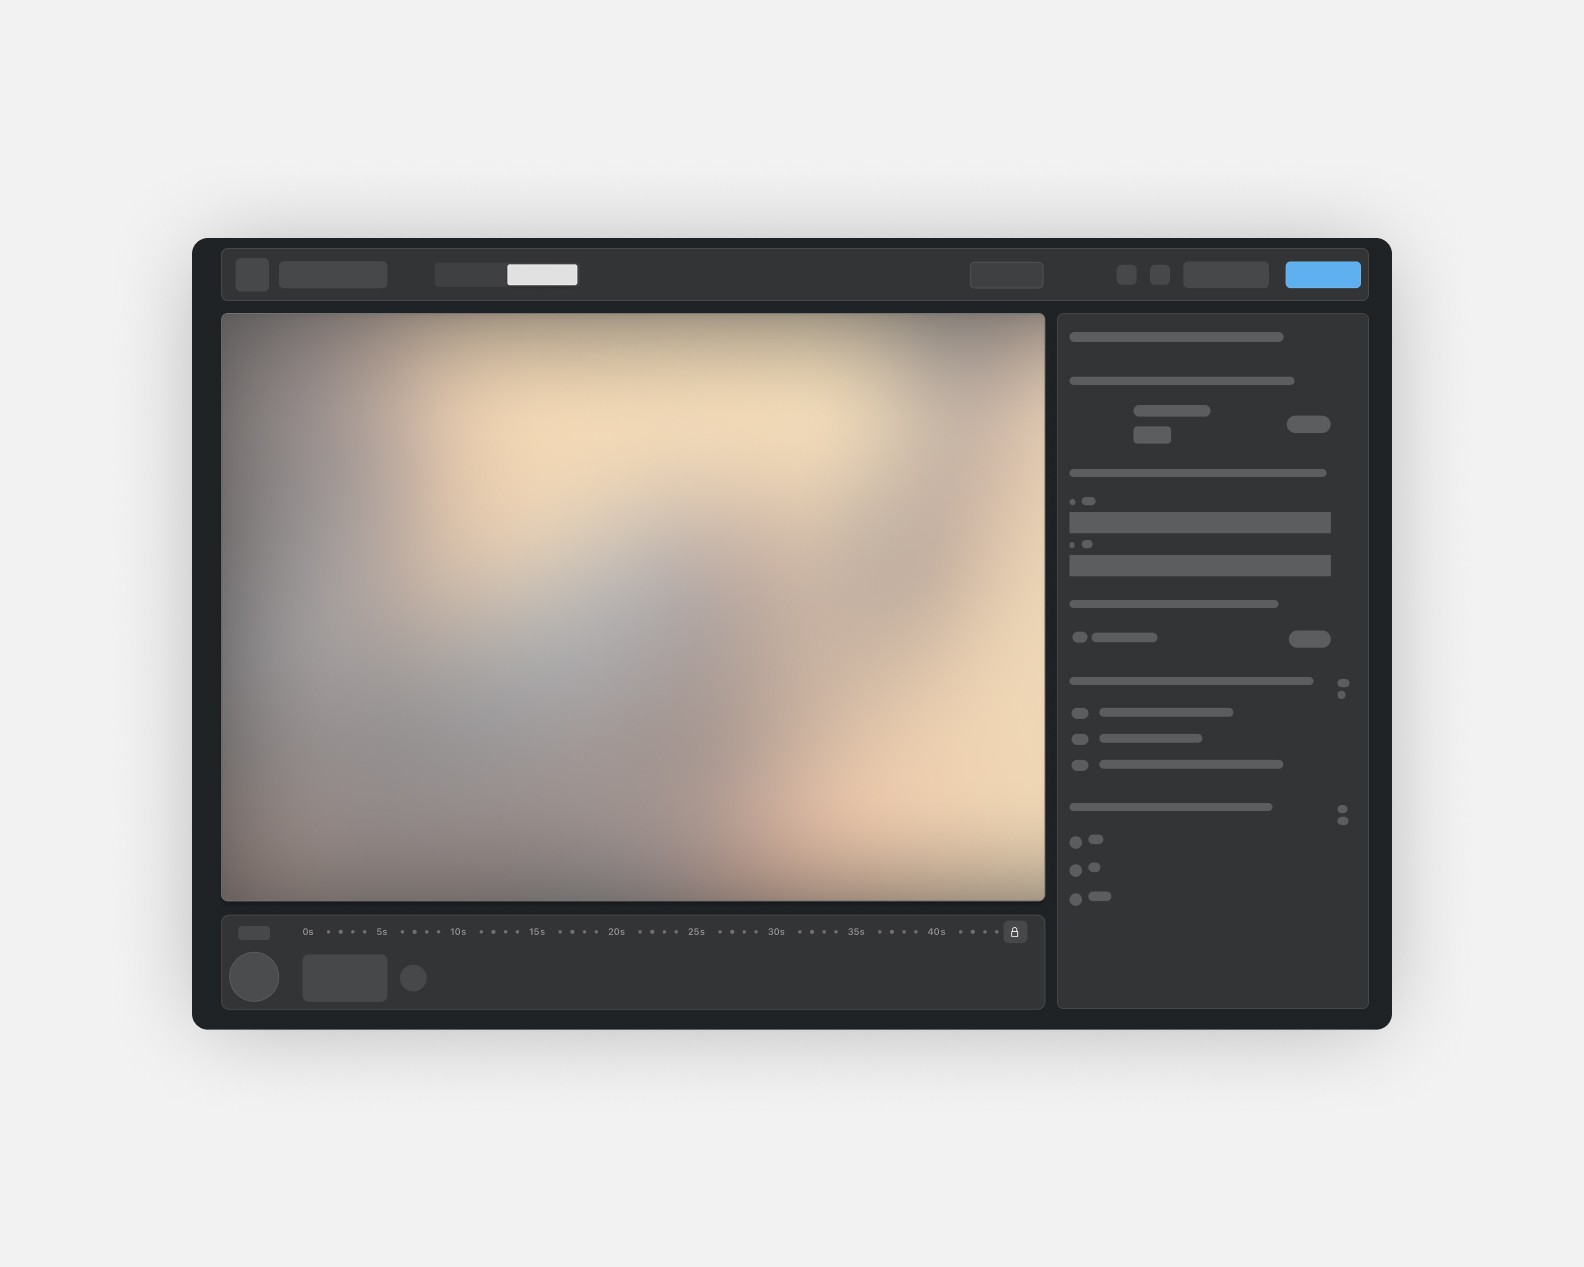
The Studio has four distinct regions: We’ve simplified the layout so you can get to know what lives in each location.
The toolbar gives you the options to manage or change your project mode, as well as prepare your final exports.
The shot is where you can configure your camera with video shots or photo bookmarks.
The edit panel is where you can view scene or camera properties.
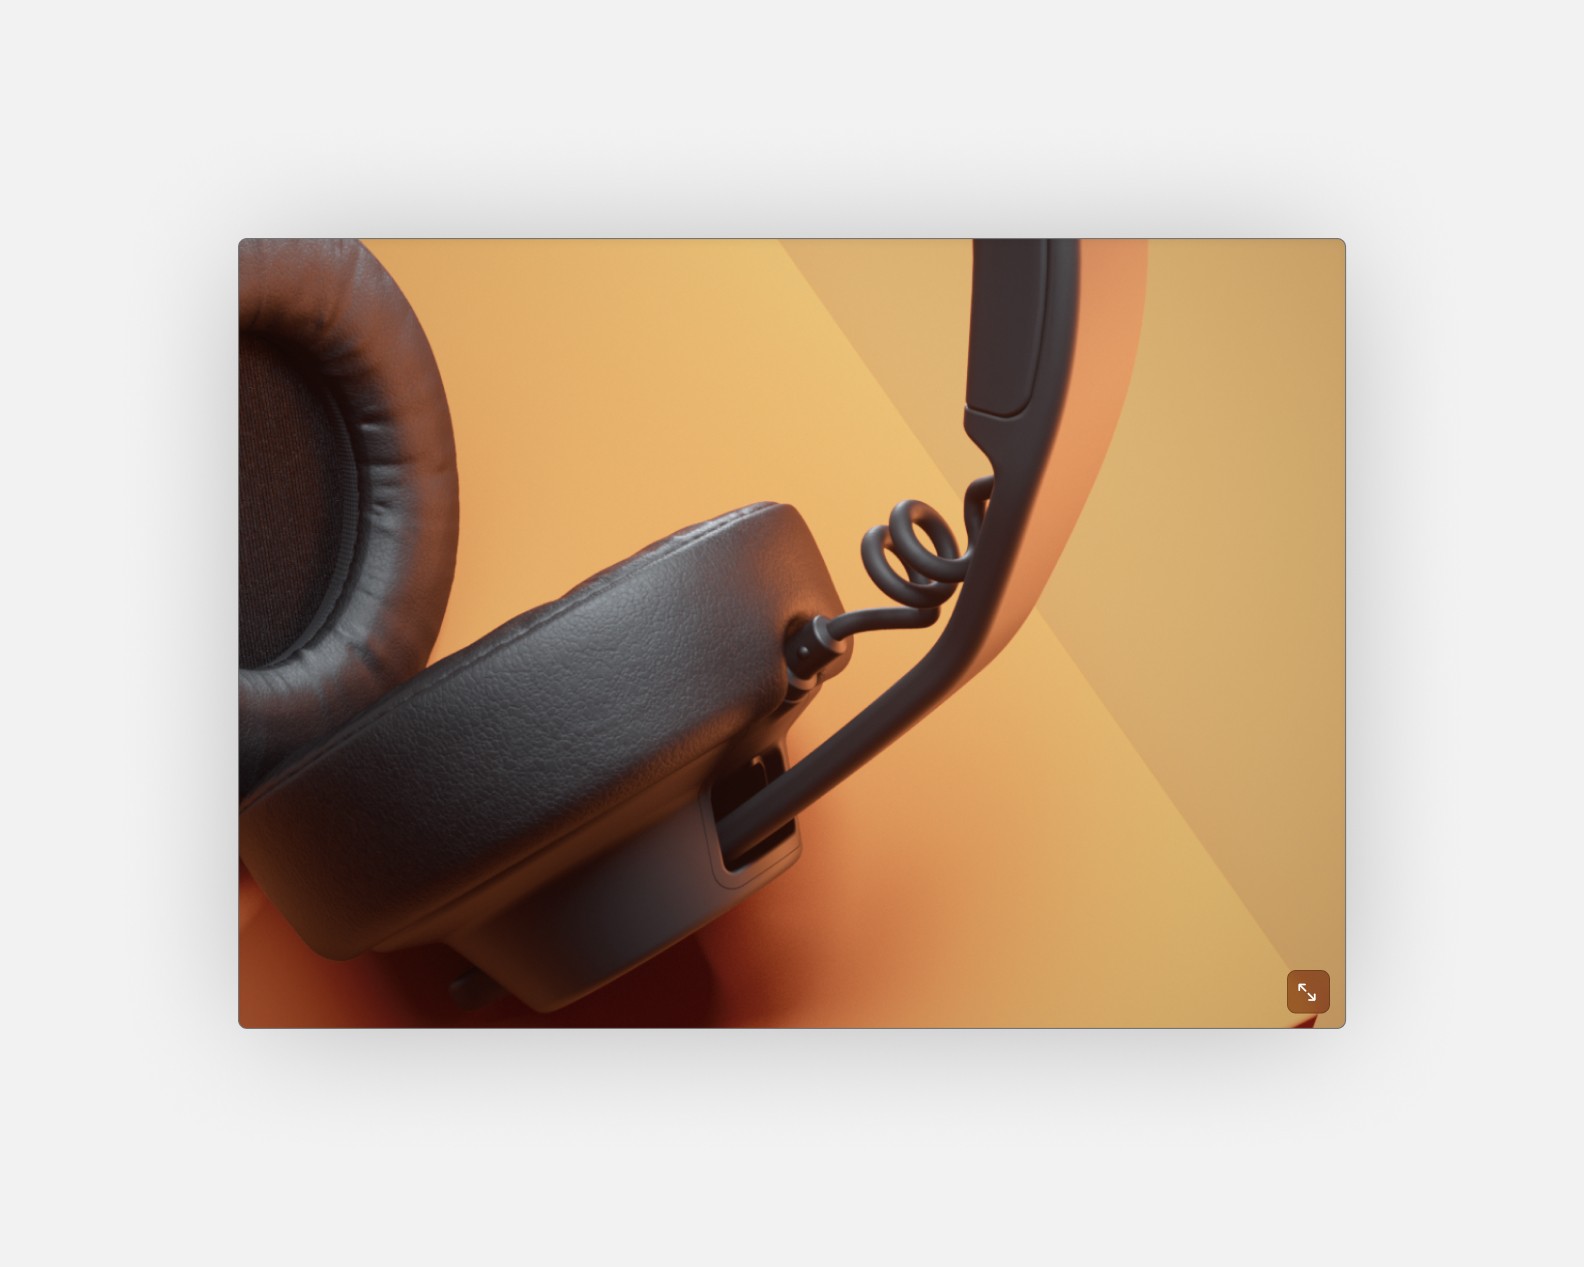
The viewport is where you can see what your final renders will look like. This window into the project’s 3D environment helps you visualize your renders in real time.

Navigating the Viewport
The viewport is your working area where you’ll adjust the model and camera for your renders. The sene frame will reflect properties adjusted in the timeline bar and right toolbar.

Moving around your scene is intuitive with our viewport controls. Use your mouse to:
Pan to move around: Right click and drag to move around the scene. The camera will move laterally to the view of the scene.
Rotate to change angles:
Left click and drag to rotate around the object. The camera will rotate with the center of the scene as the anchor point.
Zoom in and out: Scroll to zoom in and out.
These controls feel natural and responsive, allowing you to focus on composition rather than navigation.
To Read More: Viewport Navigation
Changing your Aspect Ratios
Glossi Studio supports multiple aspect ratios (16:9, 1:1, and 9:16) to accommodate different needs.
A The unique feature about Glossi is that when you change aspect ratios, the camera automatically adjusts to maintain proper framing of your subject. This intelligent reframing helps ensure your product always looks its best, regardless of the output format.

The Edit Panel
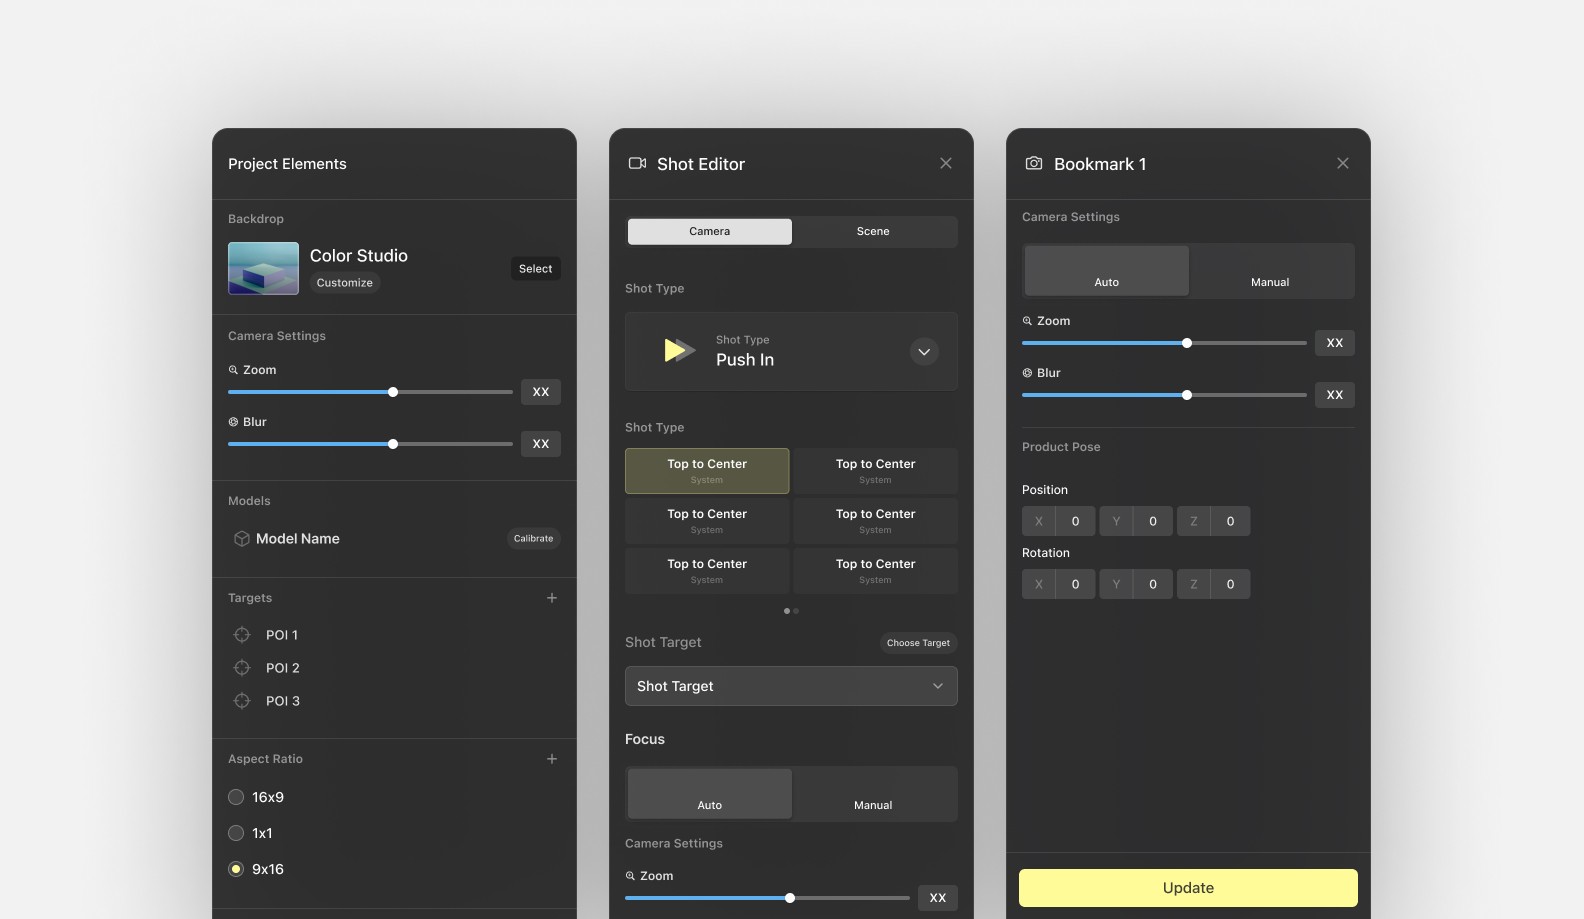
The right sidebar is where you can access more information about your scene. When you don't have anything selected, you can view the properties of your project, including the backdrop, model, and window aspect ratio.

With a shot or backdrop selected, you can explore their properties. This will include properties like the shot type, camera zoom, camera position, and focus.
The Shot Panel
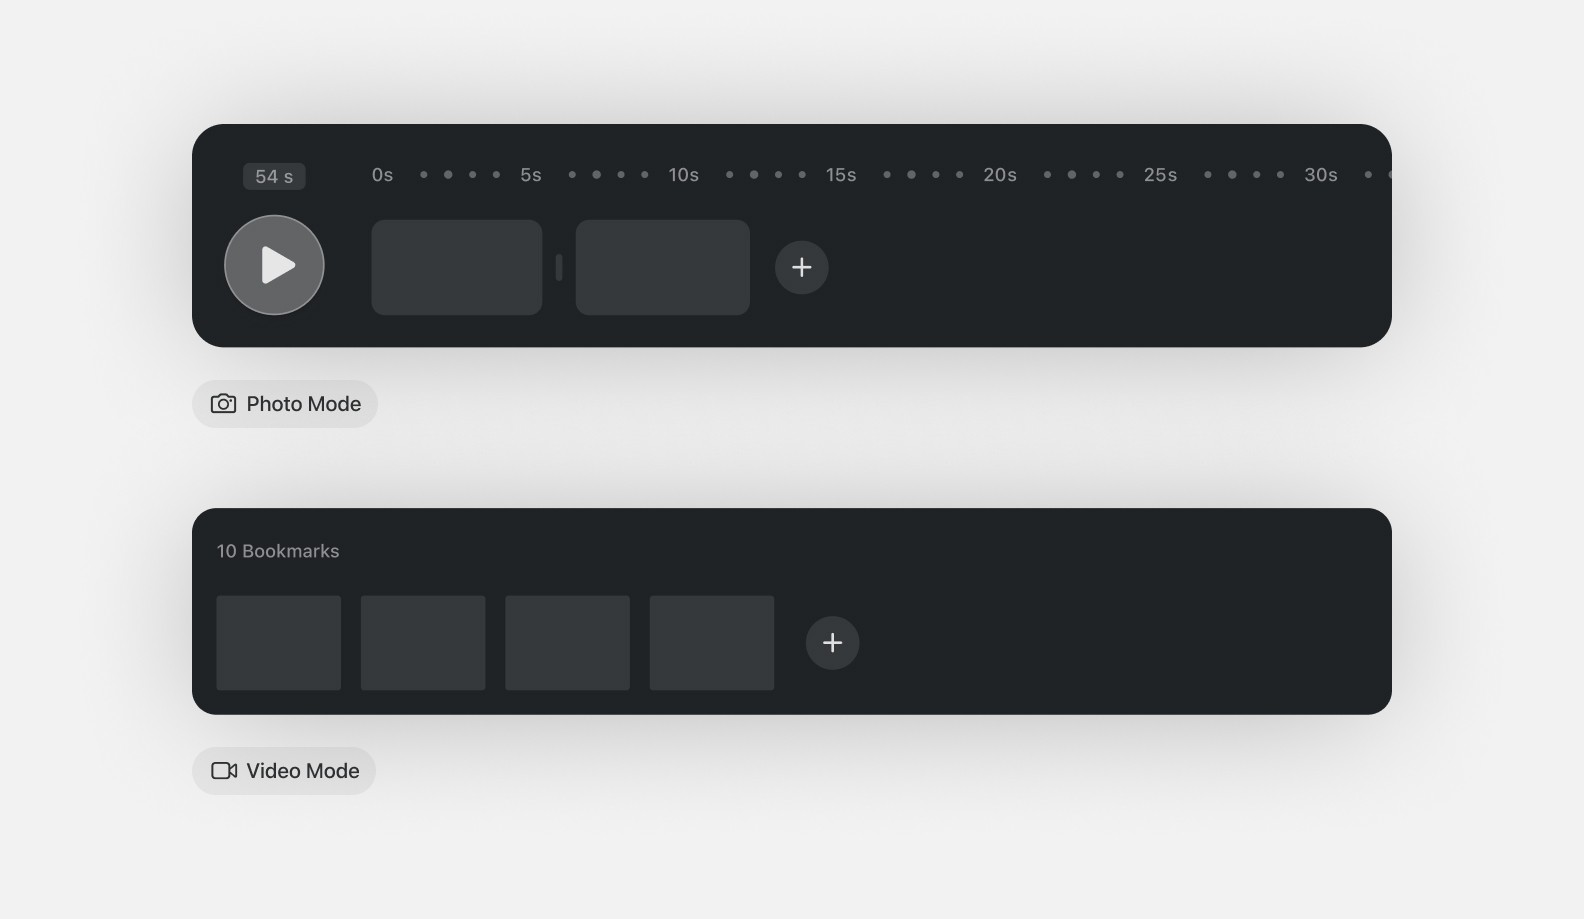
The shot panel manages each shot associated with a project. Depending on the selected mode, photo or video, the timeline bar will look slightly different. Regardless of mode, the timeline bar will describe each shot or camera movement.

In photo mode the timeline bar will list each camera configuration. We call these bookmarks.
In video mode the timeline bar will list each shot in chronological order. The duration of each shot is indicated at the top of the bar.
In both modes, you can add, select, or delete each shot or bookmark. In video mode, you have the added controls to rearrange shots. You can also pause or play each camera movement.
The Toolbar
The toolbar contains a selection of important tools and actions. There are four groups: Navigation, Modes, Status, and Exports.

Navigation: Return to the project navigator or view the name of the current project.
Modes: Switch between photo and video exports. These modes will change some of the options in the timeline bar and right sidebar.
Status: See the current connection to Glossi’s servers. If something goes wrong, you can view connection tips or give us feedback.
Exports: Open the export panel, where you configure export type, shot settings, and begin renders.
If it’s your first time joining or exploring a file, interacting with things in the scene can feel a little scary. People are often worried they’ll move, change, or delete something by accident. Don’t worry. If you’ve lost your place in the scene, click on a bookmark or shot in the timeline bar to return to the saved position
Providing Feedback
The feedback button in Glossi Studio is your direct line to our development team. Whether you encounter a bug, have a feature request, or want to share your experience, we encourage you to use it. Your feedback helps us improve the platform and add features that matter to our users
Last updated
Was this helpful?