Model Library
To initiate a rendering project in Glossi, you must first upload a 3D model.
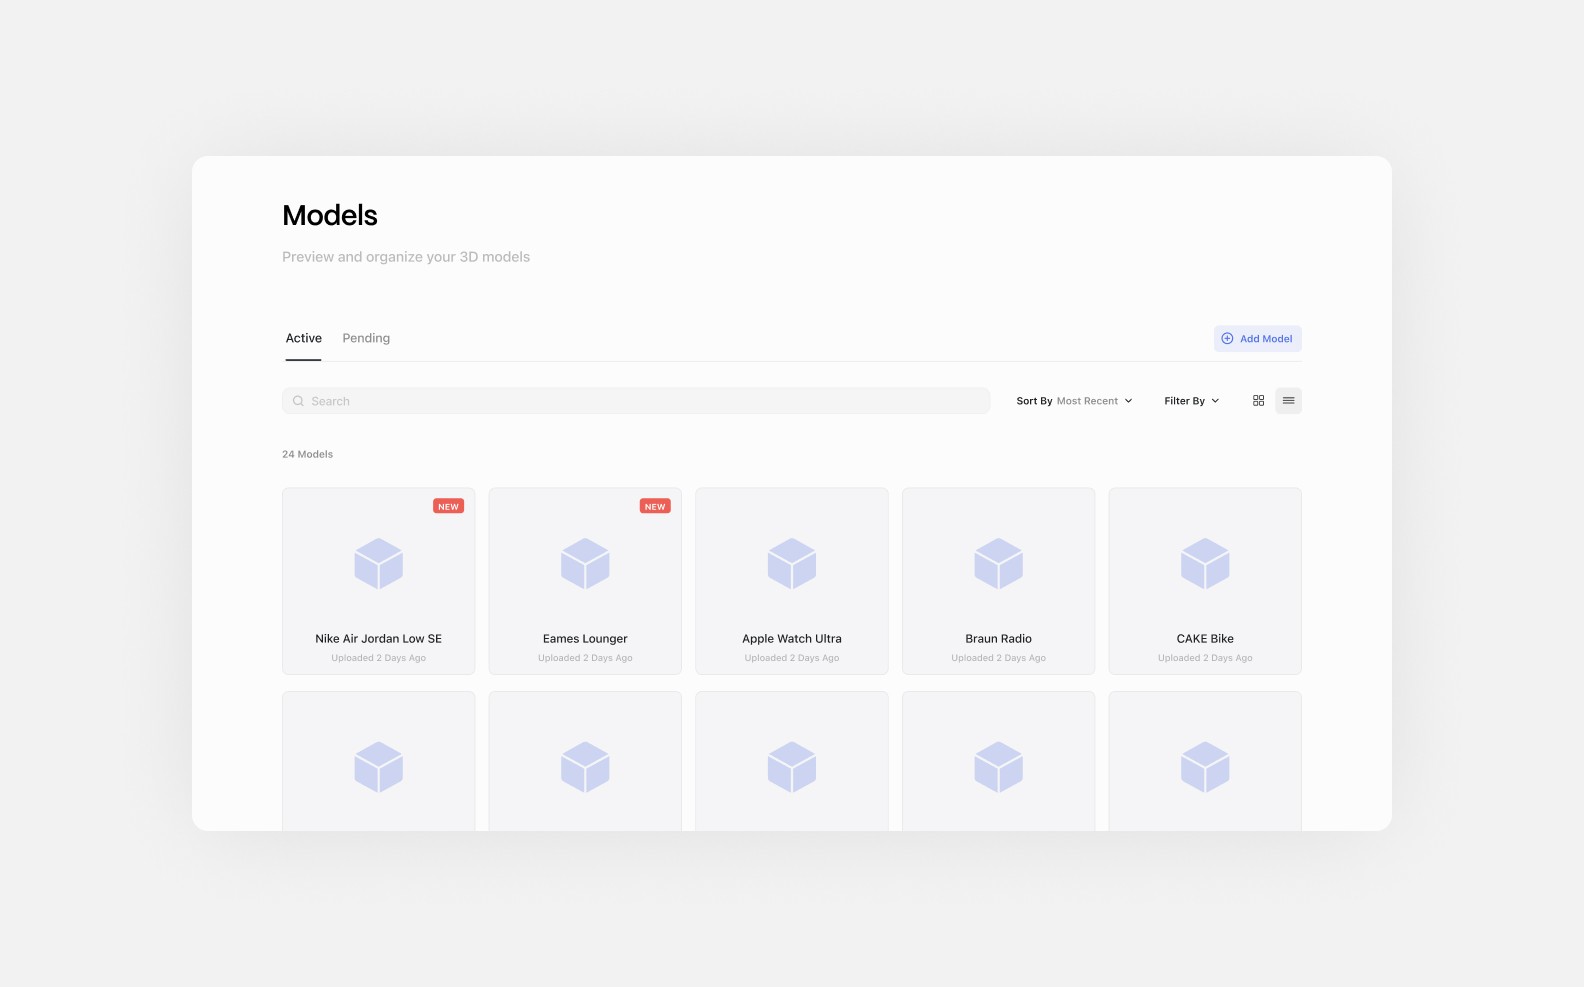
You can upload models directly using the Add model button at the top right or through the Add Model button in the model list. You can access and manage your 3D models from the Models page, accessible via the toolbar.
3D models are the cornerstone of any project in Glossi. Whether you're showcasing products, creating marketing materials, or putting the finishing touches on a design, everything starts with your model. Think of it as the digital representation of your physical product - capturing its shape, materials, and details that will be brought to life through rendering.
Uploading 3D Models in Glossi

Upload Flow
When you bring a 3D model into Glossi, we make the process straightforward while ensuring your model will render beautifully. Our platform accepts most 3D formats, with USDZ, GLTF, and FBX providing the smoothest experience since they keep materials and textures intact during upload.
1. Uploading your Files:
We support most 3D formats (up to 500mb), with optimal results from USDZ, GLTF, FBX with embedded materials
Other formats (STL, OBJ, Etc) welcome but may need material reassignment
Read more in our prepaing your 3D models guide or guides on exporting from standard 3D design tools

2. Model Check
When you upload, we check three key elements:
Materials: Materials are like recipes that tell surfaces how to look and behave with light. When we find materials, they transfer directly into Glossi. If materials are missing, surfaces will appear gray, and you'll apply new materials using our library.
Identifies if surfaces have material assignments
Missing materials appear gray
Helps you plan material setup needs
Textures: Textures add detail and realism to surfaces. If your model includes textures, they'll carry over with their full detail. Without textures, surfaces will be smooth until you add them in Glossi.
Colors: These are the basic visual properties of your model that you can assign in CAD tools. Found colors maintain your original design intent. Where colors are missing, surfaces will appear neutral gray or in their assigned until you make adjustments.
3. Processing:
When you upload your model - we optimize your model for real-time use in Glossi. The geometry – the actual shape and structure of your model – stays exactly as you designed it. We simply convert everything into a format that works seamlessly in our platform. Dependign on your file size, this can take up to 10 mins, but normally works in under a couple mins.

Best Practices & Additional Guides
Glossi's rendering capabilities scale with your model's quality. Whether you're showcasing intricate machinery or sleek consumer products, our engine can handle high-resolution textures, complex materials, and detailed geometry. The limiting factor isn't Glossi – it's the model you bring in.
For that reason, it's important properly prepare your model for import in Glossi:
Verify all materials are properly assigned and named
Check model scale and position
Clean up any geometry issues
Optimize mesh and texture density
Read more about how to prepare your 3d Models in the guide below.
Preparing your 3D AssetsRemember: Quality preparation leads to quality results. Taking time to properly prepare your models ensures the best possible outcome in Glossi.
Getting Help
Our team is here to support your workflow. Contact [email protected] or our https://www.glossi.io/onboarding for guidance on:
Model optimization
Material workflows
Technical issues
Format conversion
Last updated
Was this helpful?