Video Mode
This powerful tool allows you to take control as the cinematographer and bring your products to life through dynamic camera movements and one click animations
Unlike Photo Mode which captures static images, Video Mode allows you to create fluid camera movements that showcase your product from multiple angles in a single cohesive sequence. The resulting videos can be exported in various formats and resolutions for different platforms and use cases.
Video Mode is designed for creating:
Product demonstrations showing features in motion
Marketing videos highlighting product details
Dynamic presentations for stakeholders and clients
Social media content with professional "apple-like" production value
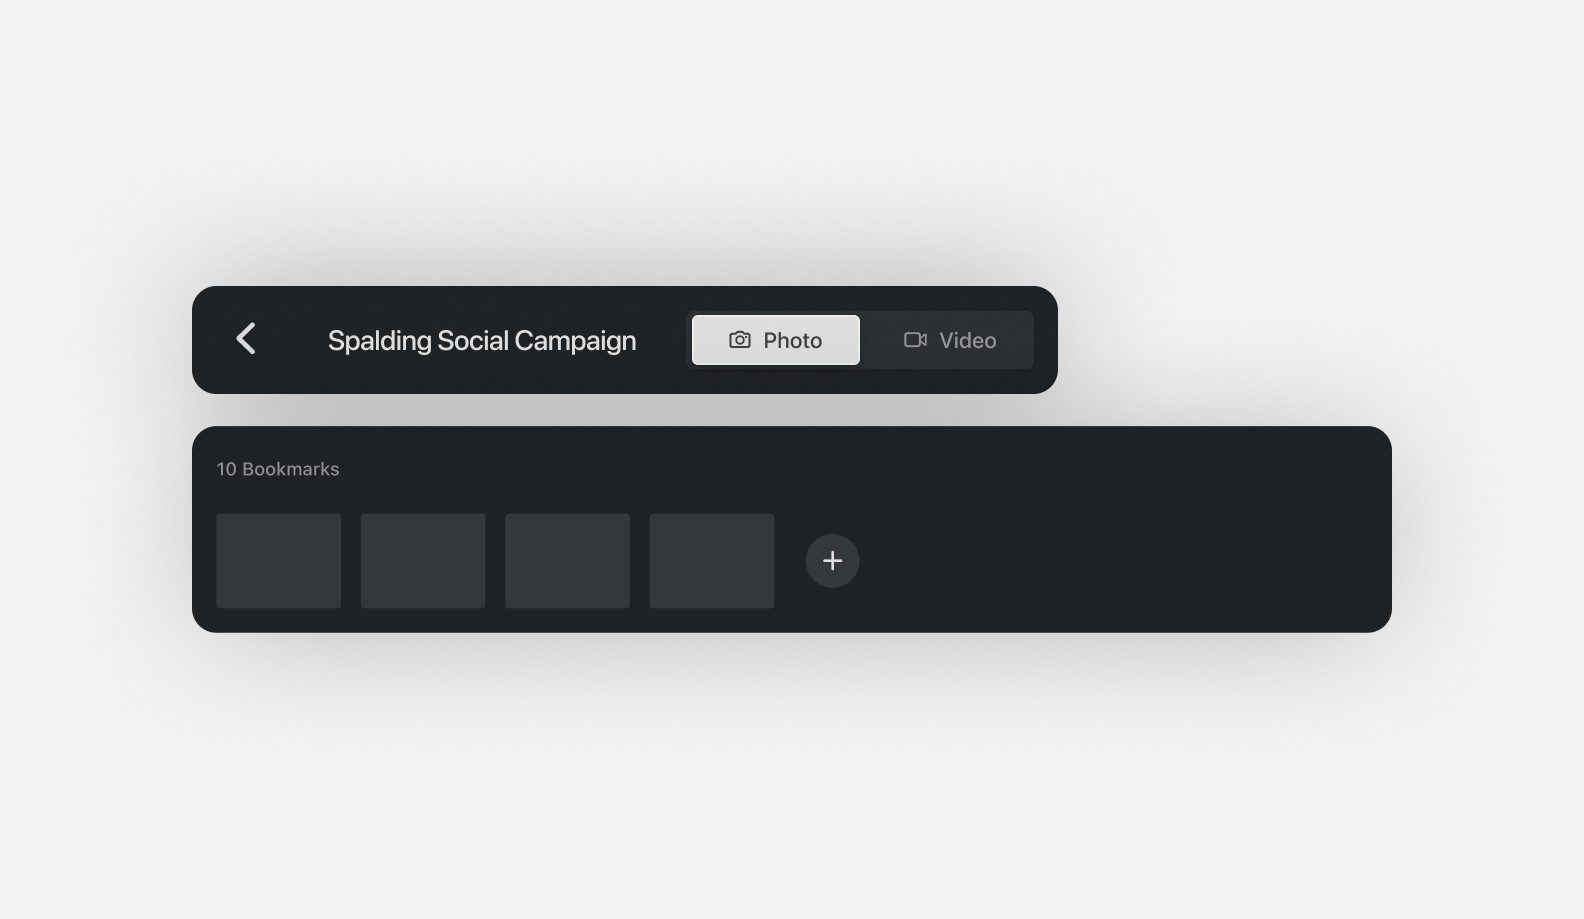
To access Video Mode in Glossi Studio. Simply open a project in Glossi Studio and select the "Video" tab in the top toolbar
When you first enter Video Mode, you'll find a timeline at the bottom of your screen with three preconfigured shots. This provides an immediate starting point to understand how video sequences work in Studio.
Using Video Mode

The Video Mode interface consists of four main sections:
Viewport: The central working area where your 3D model is displayed and animated in real-time
Timeline: The bottom panel showing your sequence of camera movements in chronological order
Shot Editor Panel: The right sidebar revealing editing controls when a shot is selected
Main Toolbar: The top bar for accessing export options and switching between modes
Understanding the Timeline
The timeline is where you organize your sequence of shots to create a cohesive video. Each clip in the timeline represents a camera movement that will be rendered in your final video.
Basic timeline functions:
Select: Click any clip to select it and view its properties in the right panel
Reorder: Drag clips to change their order in the sequence
Add: Create new shots using the plus icon at the end of the timeline
Remove: Delete unwanted shots by selecting them and clicking the trash icon
Preview: Click the play button to preview the entire sequence or an individual shot
Each clip in the timeline has a default duration of 5 seconds, which can be adjusted in the Shot Settings panel. The timeline displays all clips in chronological order, with the total sequence duration shown at the top.
Working with Shots
When you select a clip in the timeline, the right sidebar reveals your creative controls for that specific shot. In Glossi a shot is defined by three core elements:
Camera Targets: The specific point or object your camera focuses on during the shot. By default this is the center of your 3D model, but can also be driven by custom camera targets
Camera Animation: The movement pattern the camera follows around that target
Shot Adjustments: Fine-tuning controls for timing, framing, and visual style.
This combination creates a powerful and flexible system for crafting professional product videos with minimal effort. Each shot you create establishes a relationship between what's being shown (target) and how it's being shown (animation).
A summary of these concepts is below, but for advanced customization options, see our Editing Shots documentation
Right now, shot animation are limited to a fixed 5 seconds. Adjustable shot lengths and speed are coming in May 2025.
Understanding Shot Elements
1. Camera Animation Types
Glossi offers several primary shot types, each with distinct movement characteristics:
Slider: Creates linear camera movements similar to a camera dolly
Orbit: Creates circular movements around your product
Crane: Combines vertical and horizontal movements
And many more...
Each animation type includes several preset variations that you can select from the Shot Editor panel. This modular approach allows you to quickly build professional sequences without needing expertise in animation or cinematography. When you select a shot in the timeline, the right sidebar displays controls for adjusting its basic properties.
2. Camera Target
Camera targets define what your shot focuses on, essentially telling the camera "look at this." Glossi offers various targeting options to highlight different aspects of your product:
Full Product: Centers the animation around your entire model, providing context and overall views
Feature Targets: Focuses on specific parts of your model you've defined as important
Custom Points: (Coming Soon)
Targets can be set and adjusted in the Shot Editor panel.
3. Shot Adjustments
Shot adjustments allow you to fine-tune how your camera animations perform, giving you precise control over the final look and feel:
Timing Controls: Adjust speed, duration, and pacing of movements
Framing Parameters: Control composition through positioning and angle
Stylistic Effects: Add depth of field, motion blur, and other visual enhancements
Transition Settings: Define how this shot flows into the next one
Camera Settings: Adjust technical parameters like focal length and exposure
These adjustments help you refine your animations to achieve exactly the visual impact you want. While the default settings provide excellent results, these controls allow for creative customization to match your specific product and brand aesthetic.
Last updated
Was this helpful?